458


Everybody is doing DIY nowadays. I got the DIY bug too, trying to reuse and recycle stuff I have and giving it a new life. I know these things I do won’t stop global warming altogether, but I didn’t expect that doing DIY is actually fun. I also realise, sometimes it takes me not to have money to realise how useful junks can be.
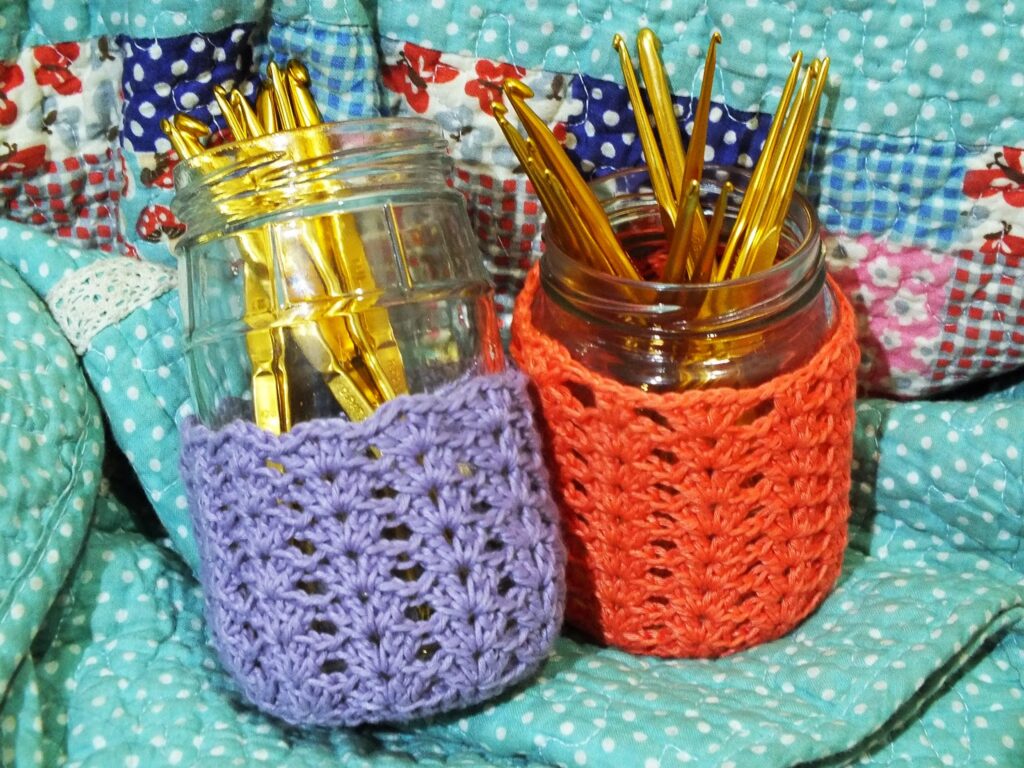
I needed some place to store my writing and crochet utensils. So, I thought of reusing some of the used jam jars my mother has on her shelves and make a crocheted cover to dress it up. I consider this a beginner’s project with easy stiches and not to many counting required.
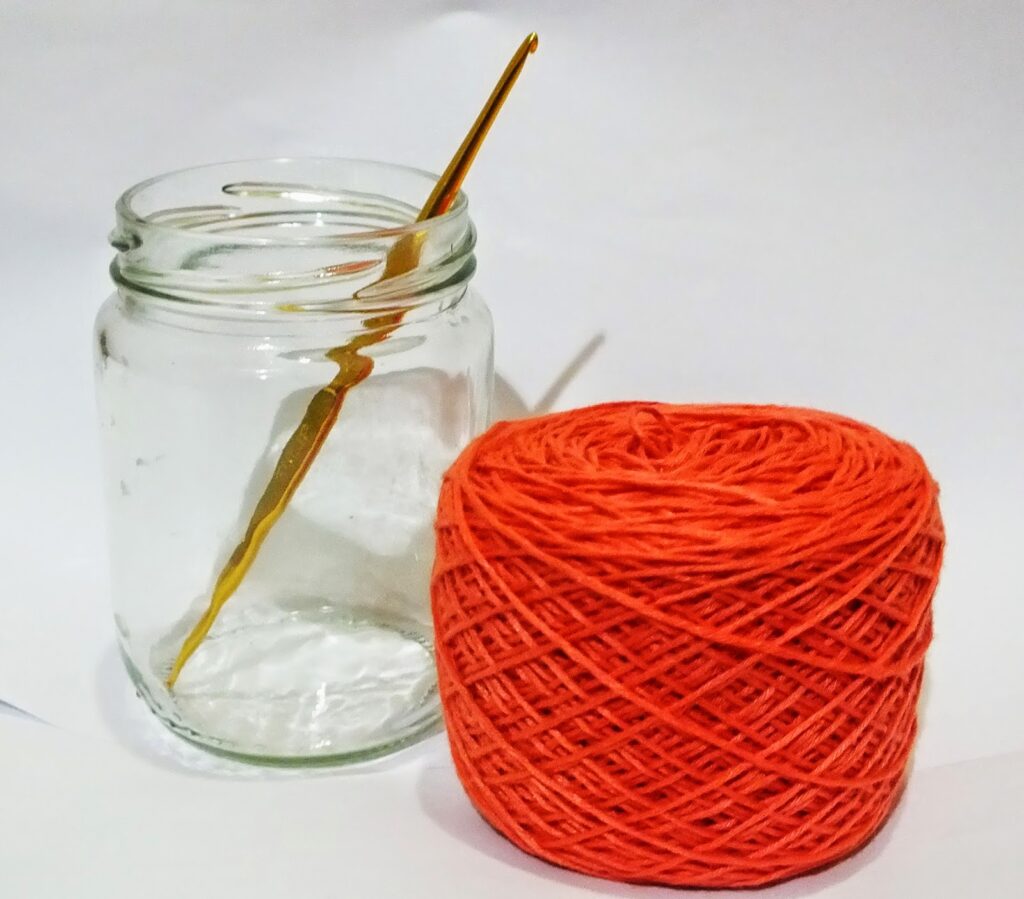
If you caught the DIY bug and wanted to try this out, get some used jars and any type of yarn of your choice. Use the corresponding crochet hook to your choice of yarn, and begin to create the jar cover.
For this project, I’m using a fingering sized cotton yarn and 4/0 Tulip crochet hook. Keep your scissors nearby too, we’ll need it later on at the end.
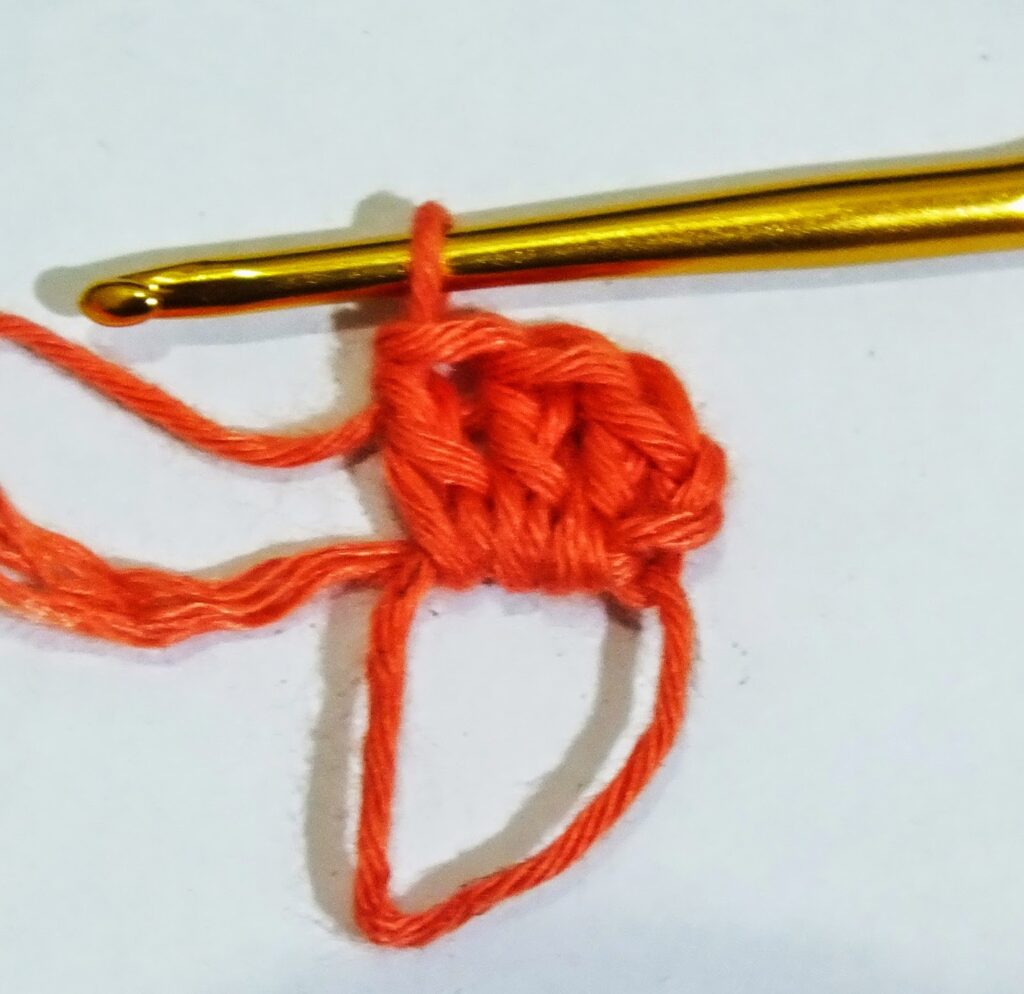
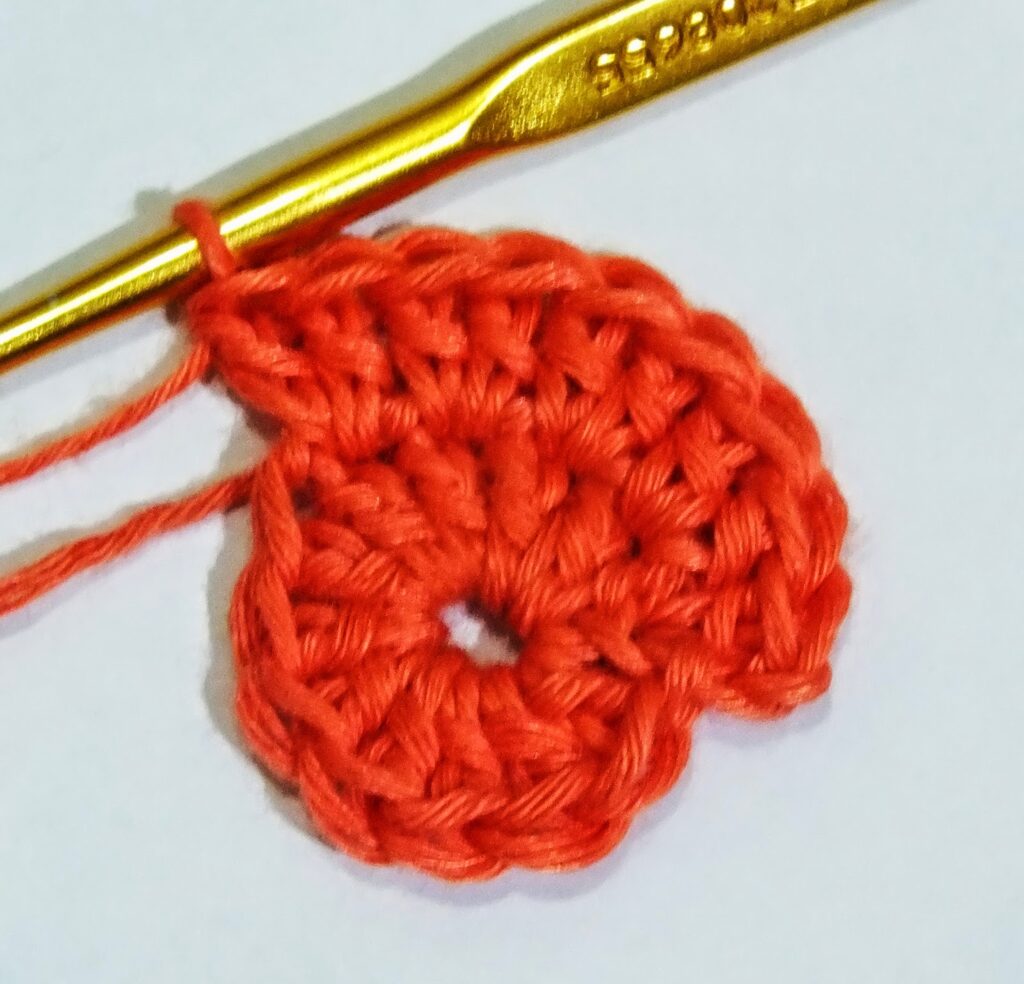
Begin with a magic circle, and then chain 2 (counted as 1 dc). Make 11 dc into the magic circle and close the loop tight to secure the circle.
This is the increase part. Ch 2, 1 dc in the first stitch. Continue with 2 dc on every stitch from previous round.
Ch 2 dan 1 dc in the first stitch, 1 dc on the next stitch. (2 dc, 1 dc) until the end of the round.
Ch 2 dan 1 dc in the first stitch. Continue with 1 dc on the next two stitches. (2 dc, 1 dc, 1 dc) until the end of the round.
Begin with a magic circle, and then chain 2 (counted as 1 dc). Make 11 dc into the magic circle and close the loop tight to secure the circle.
Sl st to ch-1 space. Make ch 2, 1 dc, ch 1, 2 dc into the ch-1 space. Rep (2 dc, ch 1, 2 dc) into each ch 1 sp to the end of the round.
Repeat Round 6 until your piece formed a cylinder/tube-like and stop according to the height of your jar. You can also fit the piece to the jar as you crochet along.
When you’ve reached the desired height of the piece, close the last round with a slip stitch and secure the yarn by cutting enough tail to weave into the inside part of the piece. Fit in your finished piece to the jar and you’re done!
Easy, right?
I imagine the same pattern can also be adjusted for larger vessels and make them prettier for display. Ready to make your own? Share your finished project pictures with me and let’s admire our new crochet jar cover. Have fun!